
A week ago, my indoor plant looked completely lifeless. Its leaves had turned yellow, its stems were drooping, and there was absolutely no new growth. To be honest, I thought it was beyond saving.
But instead of throwing it away, I decided to conduct an experiment by making a few simple adjustments. No expensive products, no complicated tricks.
Related News
Surprisingly, within just 7 days, I began to see significant improvement.
This isn't a story about a miraculous cure. It is a real, step-by-step method that can help revive even a dying plant provided, of course, that the plant's condition hasn't deteriorated too severely.
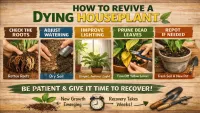
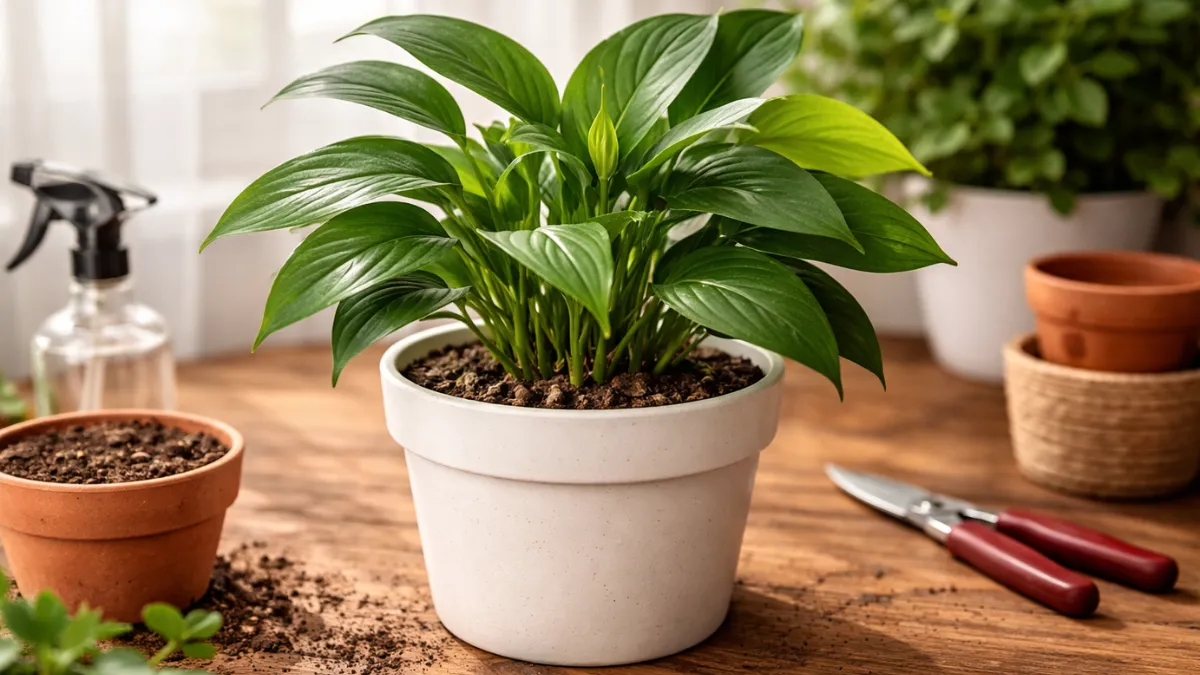
In Brief: What Actually Worked
• Checked the condition of the roots (crucial!)
• Corrected the issue of overwatering
• Improved the arrangement for indirect sunlight
• Pruned away dry and yellow leaves
• Ensured proper drainage
• Withheld fertilizer during the recovery period
• Maintained a consistent care routine
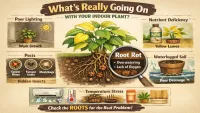
Day 1: Identifying the Real Problem
What is the biggest mistake most people make? Guessing.
Initially, I assumed my plant needed more water. But when I checked the soil, it was already wet.
Also Read : DIY Soil Mix for Indoor Plants at Home – Easy Recipe (2026)
Also Read : Overwatering Is not the Problem : The Real Reason Your Plants Are Dying
What I Did:
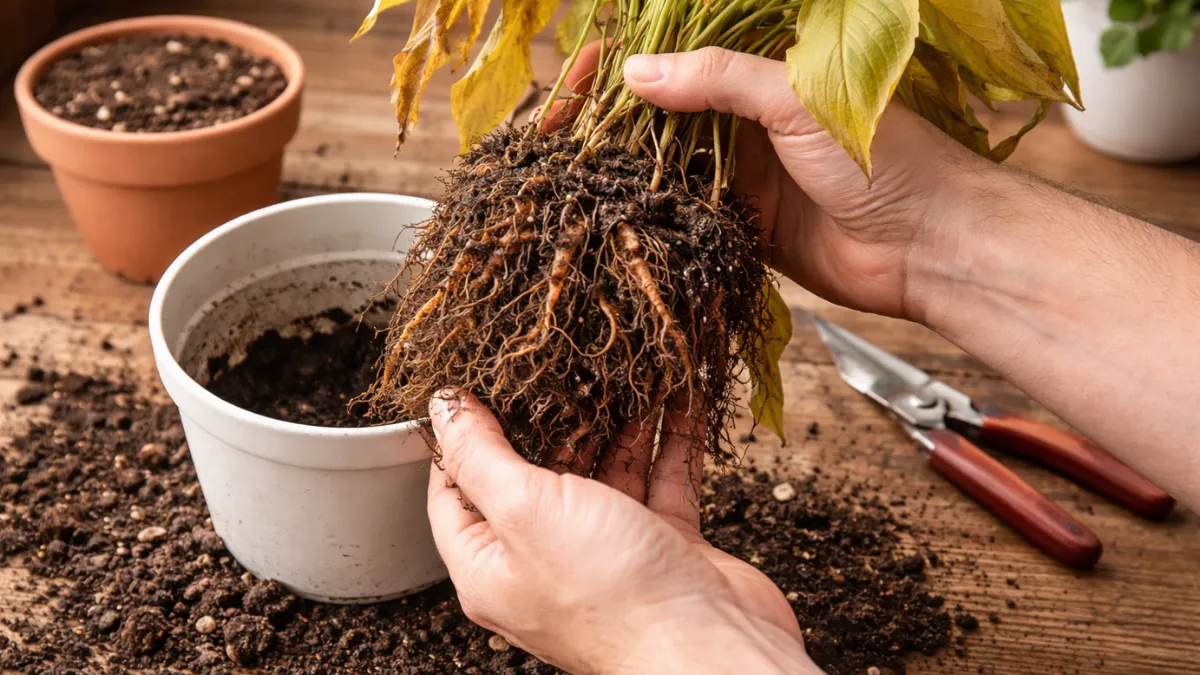
• Gently removed the plant from its pot
• Checked the roots for rot (soft, brown roots = a bad sign)
• Discovered early signs of root rot
Personal Insight 1:
The plant looked dry on the surface, but the soil underneath was completely saturated. This is a very common occurrence and is often deceptive.
Day 2: Fixing the Overwatering Issue (My Biggest Mistake)
I realized that I had been watering the plant far too frequently.
I took these steps:
• Trimmed away any slightly damaged roots
• Removed the old soil and replaced it with fresh, well-draining soil
• Used a pot with adequate drainage holes
My mistake:
I was watering on a fixed schedule without checking the moisture levels in the soil.
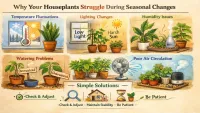
Day 3: Changes to Lighting
My plant was placed in a dark corner.
Which was not ideal.
What I changed:
• I moved it near a bright window
• I ensured it received indirect sunlight (not direct, harsh sun)
Personal Observation 2:
Within just 24 hours, the leaves began to look slightly straighter and more taut. Lighting has a far greater impact on plants than most people realize.
Day 4: Pruning Dry Leaves
This step felt a bit risky, but it paid off.
What I did:
• Removed the yellowed and completely dried-out leaves
• Left only the healthy, green parts intact
Why this is important:
Dry leaves drain the plant's energy. Removing them helps the plant focus its energy on recovery.
Day 5: Letting the Plant Rest
This is where many people make a mistake.
They keep trying to fix something every single day.
What I did:
• I did not water it
• I did not fertilize it
• I did not move the plant from its spot
• I simply observed it closely.
Sometimes, when caring for plants, doing less is actually more beneficial.
Day 6: Light Watering (With Caution)
After confirming that the top 2 inches of soil had dried out:
• I watered it lightly
• I ensured that any excess water drained out of the pot
Important:
Overwatering again at this stage could undo all the hard work done so far.
Also Read : Indoor Plant Watering Schedule Chart (Weekly & Seasonal Guide 2026)
Day 7: Visible Improvement
By Day 7:
• The leaves appeared stronger and fresher.
• No new leaves had turned yellow.
• Signs of slight new growth were visible (early stages).
Reality Check:
The plant had not yet fully recovered, but it was clearly on the mend.
Reality Check: Myth vs. Reality
Myth: You should fertilize a dying plant to save it.
Reality: Fertilizing weak plants can actually increase their stress.
Myth: If leaves are wilting, you should water the plant more.
Reality: Leaves can also wilt due to overwatering.
Myth: Plants recover instantly.
Reality: Recovery takes time and patience.
Some Practical Tips That May Come in Handy
• Always check the soil before watering.
• Use pots that have drainage holes.
• Avoid making sudden changes to the surrounding environment.
• Place plants in soft (indirect) light rather than direct sunlight.
• Periodically clean the leaves to facilitate better photosynthesis.
Limitations (Important to Know)
Not every plant can be saved.
If:
• The roots have completely rotted away.
• The stem has become soft and started to decay.
• No healthy parts of the plant (from which new growth could emerge) remain.
Then, saving the plant may not be possible.
In such cases, growing a new plant from a cutting (if possible) might be a better option.
Internal Linking Suggestions (For Your Website)
A Guide to Watering Indoor Plants
Signs of Overwatering Plants
The Best Soil Mix for Indoor Plants
A Guide to Low-Light Plants
Final Thoughts
Saving my dying plant in just 7 days wasn't exactly like performing some extraordinary feat.
It was simply a matter of correcting a few minor mistakes.
To be honest, the biggest lesson I learned is this:
Most plant problems stem from over care, rather than neglect.
If your plant is wilting, just pause, observe it closely, and make a few simple adjustments.
Doing just that can prove far more beneficial than any quick-fix remedy.
Written for IndoorPlantify, based on real-world experience caring for indoor plants.